Are you facing issues with your garage door cables? Is the door not operating smoothly, or have you noticed fraying or damage to the cables? Replacing garage door cables may sound like a daunting task, but with the right guidance, it’s a job you can handle yourself. In this comprehensive guide, we’ll walk you through the process of replacing garage door cables in 5 easy steps, ensuring a smooth and safe fix for your garage door.
Why You Should Replace Garage Door Cables
Before we dive into the steps, it’s essential to understand why you might need to replace your garage door cables. The cables play a crucial role in lifting and lowering the door, and over time, wear and tear can cause them to weaken or break. Here are some common reasons for cable replacement:
- Wear and Tear: Constant use can lead to natural wear and tear, causing the cables to weaken or fray.
- Rust and Corrosion: Exposure to the elements can lead to rust and corrosion, making the cables prone to damage.
- Accidents or Snags: Sometimes, accidents or getting the cable caught on an object can cause significant damage.
Now, let’s move on to the step-by-step process of replacing garage door cables:
Step 1: Safety First
Before you begin any work on your garage door, safety should be your top priority. Gather the necessary safety gear, including gloves and safety glasses, to protect yourself during the process.
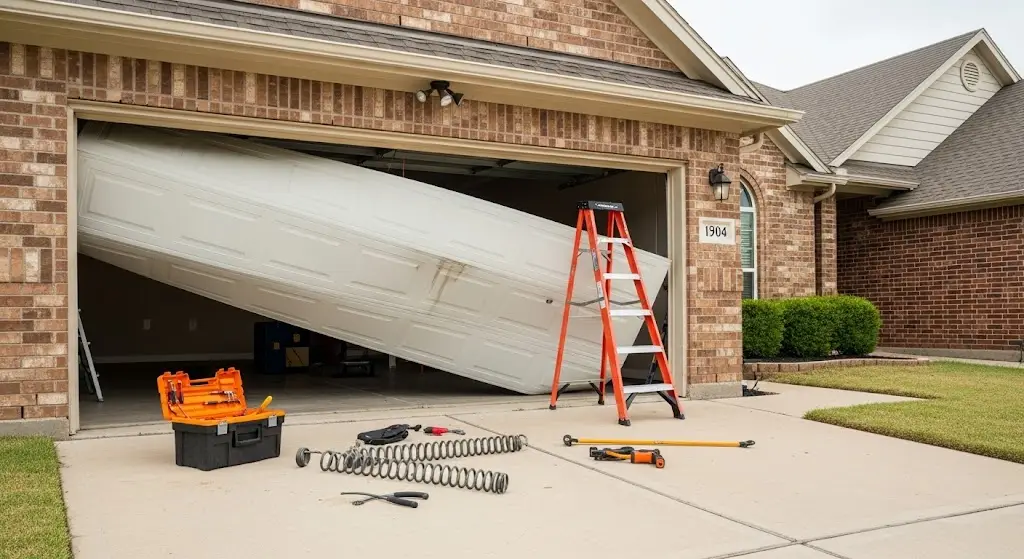
Step 2: Gather Your Tools
You’ll need a few tools and materials for this project, including a wrench, pliers, new cables (make sure they are the right length and type for your door), and a ladder.
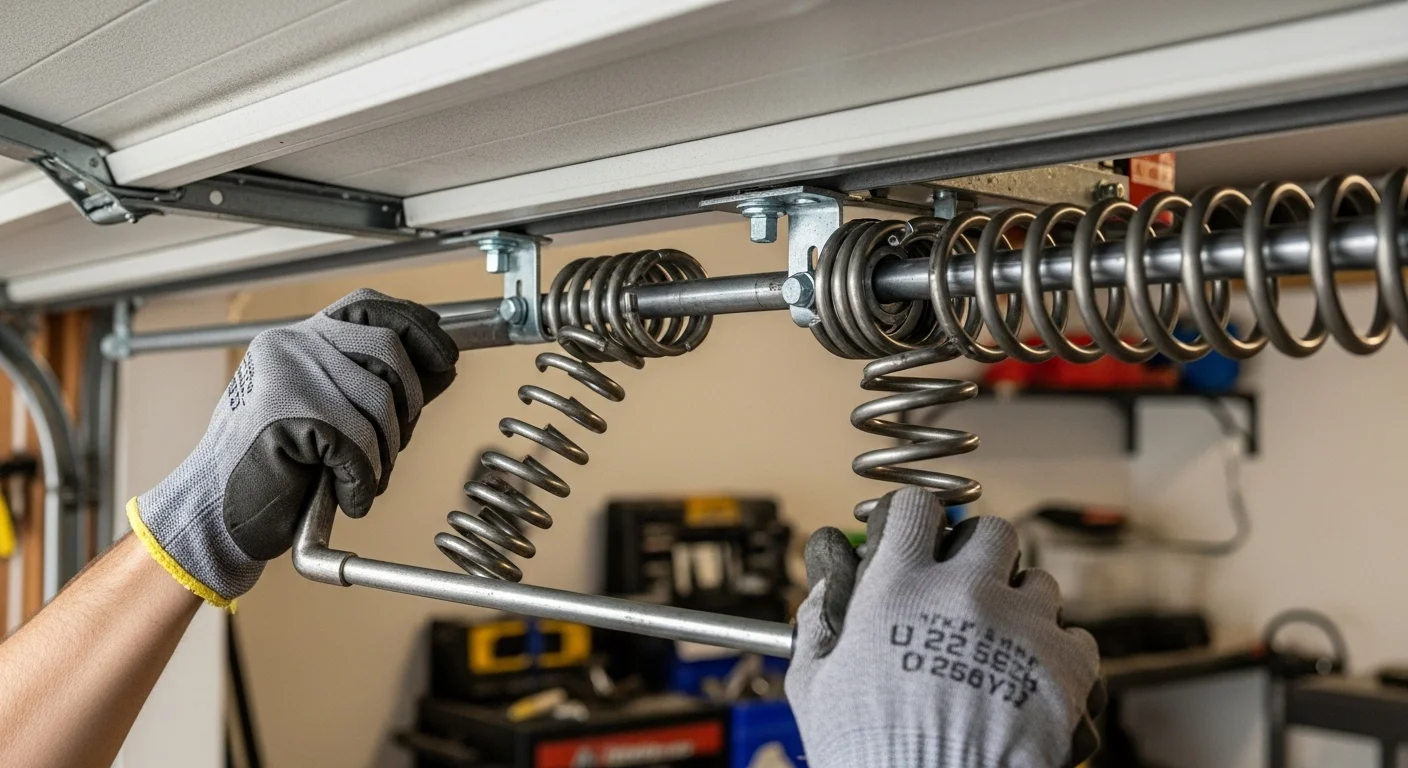
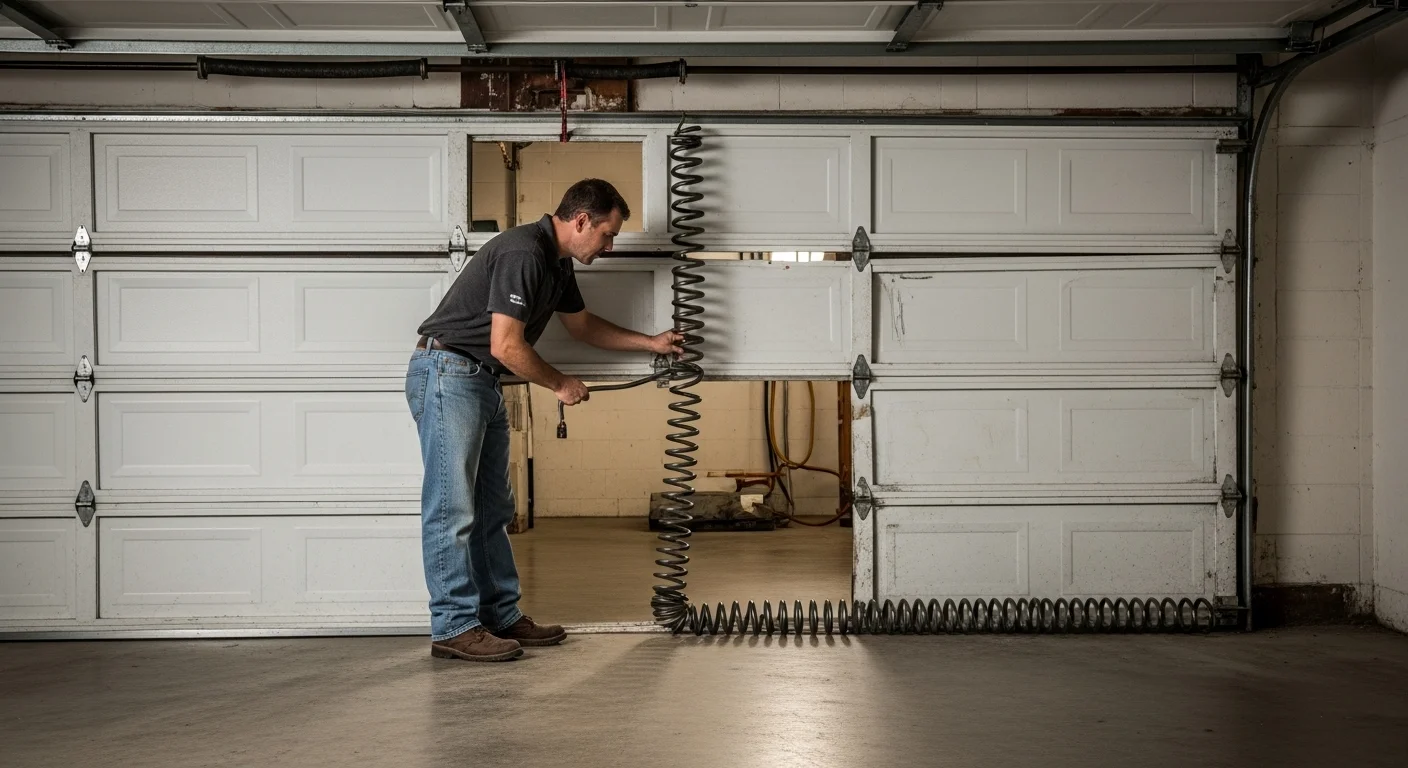
Step 3: Release Tension
To replace the cables safely, you must release the tension from the existing cables. This step involves disconnecting the door from the opener and manually lifting the door to relieve tension.
Step 4: Remove the Old Cables
Carefully remove the old, damaged cables from the pulleys, drums, and the bottom bracket. Take note of how they were connected, as you’ll need to reattach the new cables in the same way.
Step 5: Install the New Cables
Now, it’s time to install the new cables. Begin by attaching them to the bottom bracket, then thread them through the pulleys and around the drum. Once the cables are in place, slowly lift the door to regain tension. Reconnect the door to the opener.
Tips for a Successful Replacement
- Always double-check the length and type of cables you need. If in doubt, consult your garage door’s manual or seek professional advice.
- Regularly inspect your cables for signs of wear and tear. Address any issues promptly to prevent further damage and ensure the safety of your garage door.
Contact Core Garage Door Repair for Expert Garage Door Cable Replacement Services
When it’s time for a garage door cable replacement, you need a service you can trust for precision and reliability. Core Garage Door Repair is your go-to expert in providing top-notch garage door cable replacement services. Our experienced technicians ensure that your garage door operates smoothly and safely, restoring your peace of mind. Contact us today to schedule your cable replacement and experience the quality service that sets us apart.
By following these 5 easy steps, you can replace your garage door cables and restore the smooth and safe operation of your garage door. However, if you ever feel uncomfortable or unsure about the process, it’s best to consult a professional garage door technician. Your safety and the proper functioning of your garage door should always be the top priority.
Facebook
Instagram
Youtube
Whatsapp
Yelp
Google-plus-g
Tiktok
Pinterest
Twitter